Quick Facts
- Solo Benchmark: Plan for 1.5 oz of fuel per day for standard boiling.
- Cold Limit: Canister stove efficiency can drop by as much as 25% when temperatures hit 32°F.
- Thru-hiking Choice: Small canister stoves weighing less than 3 oz are the gold standard for weight-conscious hikers.
- Expedition Choice: Liquid fuel systems are the only reliable option for extreme sub-zero conditions.
- Economic Value: While canisters are convenient, the operating cost for liquid white gas is roughly $1.50 per hour compared to $6.00 for gas canisters.
- The Crossover Point: Research shows that for trips exceeding six days, liquid fuel systems become more weight-efficient than canister setups.
Choosing the ideal backpacking stove depends on your trip environment: small canister stoves are best for light solo trips, integrated systems are most fuel-efficient for boiling, and liquid fuel is essential for sub-zero winter mountaineering. By understanding how environmental factors impact performance, you can select the best backpacking stoves for your specific needs and ensure a reliable hot meal at the end of every mile.
Integrated vs. Small Burners: The Canister Era
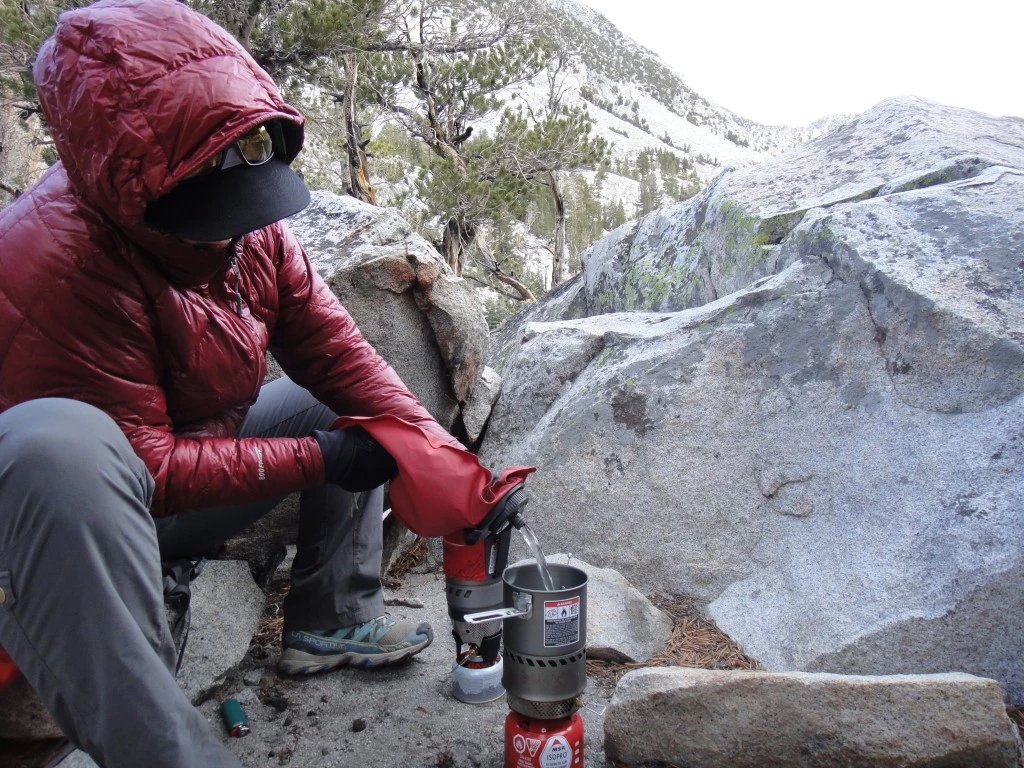
For the modern hiker, the canister era has revolutionized the way we cook in the backcountry. These stoves rely on a pre-pressurized Isobutane-Propane Mix fuel, which provides a consistent flame without the need for priming or pumping. Within this category, two main designs dominate the trail: the minimalist screw-on burner and the integrated canister stove.
Small, screw-on burners are the darlings of the ultralight community. These tiny devices often weigh less than three ounces and offer excellent flame regulation. If you enjoy cooking actual meals—think sautéing peppers or simmering a delicate sauce—these provide the best backpacking stoves with simmer control for cooking. However, their open-burner design makes them highly susceptible to wind, which can significantly sap your thermal efficiency.
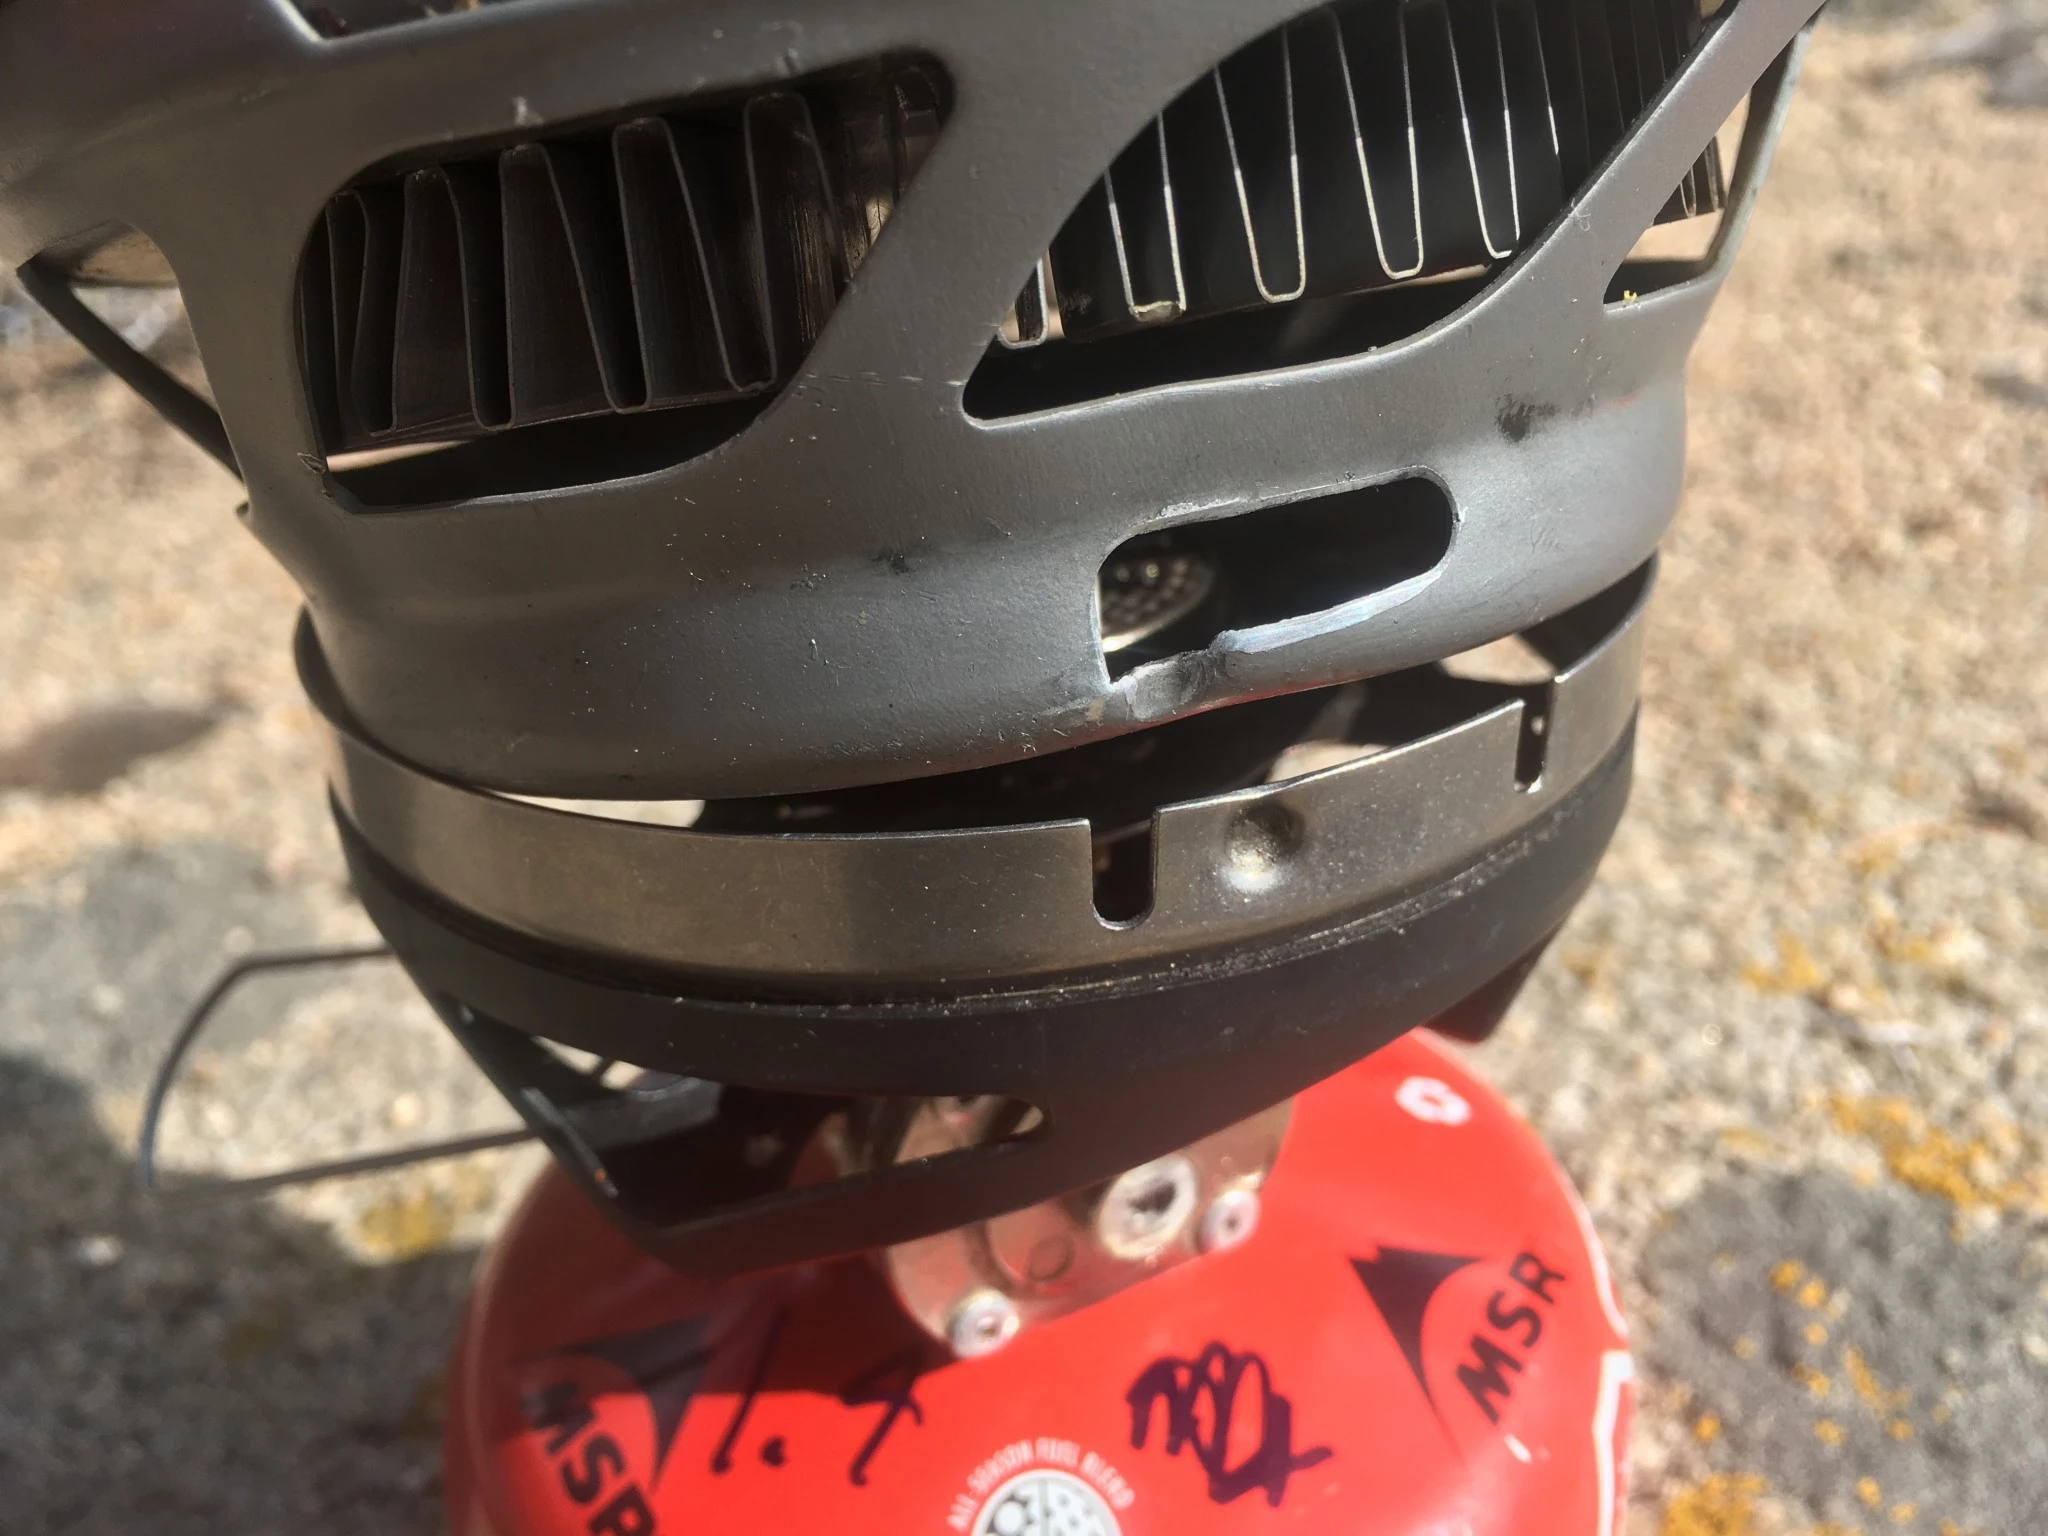
On the other hand, integrated canister systems like the MSR WindBurner or Jetboil series are built for speed and efficiency. These stoves feature a dedicated pot that locks directly onto the burner, often incorporating a Heat Exchanger at the base. This design captures almost all the heat that would otherwise escape, leading to incredible boiling speed and fuel economy. Many of these units also include a Piezoelectric Igniter, allowing you to start your stove with the click of a button rather than fumbling with matches in the wind.
The trade-off for this integrated canister stove efficiency is usually weight and versatility. Integrated systems are heavier and bulkier than a simple burner and titanium pot. Furthermore, they are often designed solely for boiling water. If you try to cook a thick soup or oatmeal directly in the pot without constant stirring, you risk scorching the bottom due to the intense, localized heat. When comparing integrated canister stove vs small burner efficiency, the winner depends on whether you are simply hydrating freeze-dried meals or practicing backcountry gourmet skills.
Liquid Fuel vs. Canister Stoves: Distance and Cold
While canister stoves own the three-season market, liquid fuel stoves remain the workhorses of the expedition world. The global camping stoves market, which was valued at USD 604.2 million in 2023, continues to support these robust systems because of their unmatched reliability in extreme environments.
The primary debate for many high-altitude adventurers is liquid fuel vs canister stove performance. Canister stoves rely on the internal pressure of the gas to function. As temperatures drop toward freezing, the pressure inside the canister decreases, often resulting in a weak, sputtering flame. Liquid fuel stoves, which use a manual pump to pressurize a bottle of White Gas, do not suffer from this physical limitation. This makes liquid fuel stoves for cold weather mountaineering the only logical choice when you are camping on a glacier or in deep winter conditions.
Beyond temperature, there is the question of logistics. If you are planning multi fuel backpacking stoves for international expeditions, liquid fuel is the way to go. In many remote parts of the world, finding a specific threaded isobutane canister is nearly impossible, but you can almost always find kerosene, diesel, or unleaded gasoline.
| Feature | Canister Stoves | Liquid Fuel Stoves |
|---|---|---|
| Best Use | 3-season hiking, solo trips | Winter, large groups, expeditions |
| Fuel Type | Isobutane-Propane Mix | White Gas, Kerosene, Auto gas |
| Maintenance | Almost none | Requires periodic cleaning |
| Cold Performance | Poor (unless using remote feed) | Excellent |
| Simmering | Excellent in small burners | Varies (best in modern models) |
Another critical factor is the weight-efficiency crossover. Because liquid fuel has a higher energy density and the canisters themselves are heavy dead weight once empty, the initial weight penalty of a liquid fuel stove and bottle is eventually offset on longer trips. For most hikers, that turning point happens around day six or seven.
Fuel Math: Planning for the Backcountry
One of the most common mistakes beginners make is either carrying too much fuel or, worse, running out on the third night of a week-long trek. Mastering backpacking stove fuel efficiency requires a bit of math and an understanding of your cooking habits.
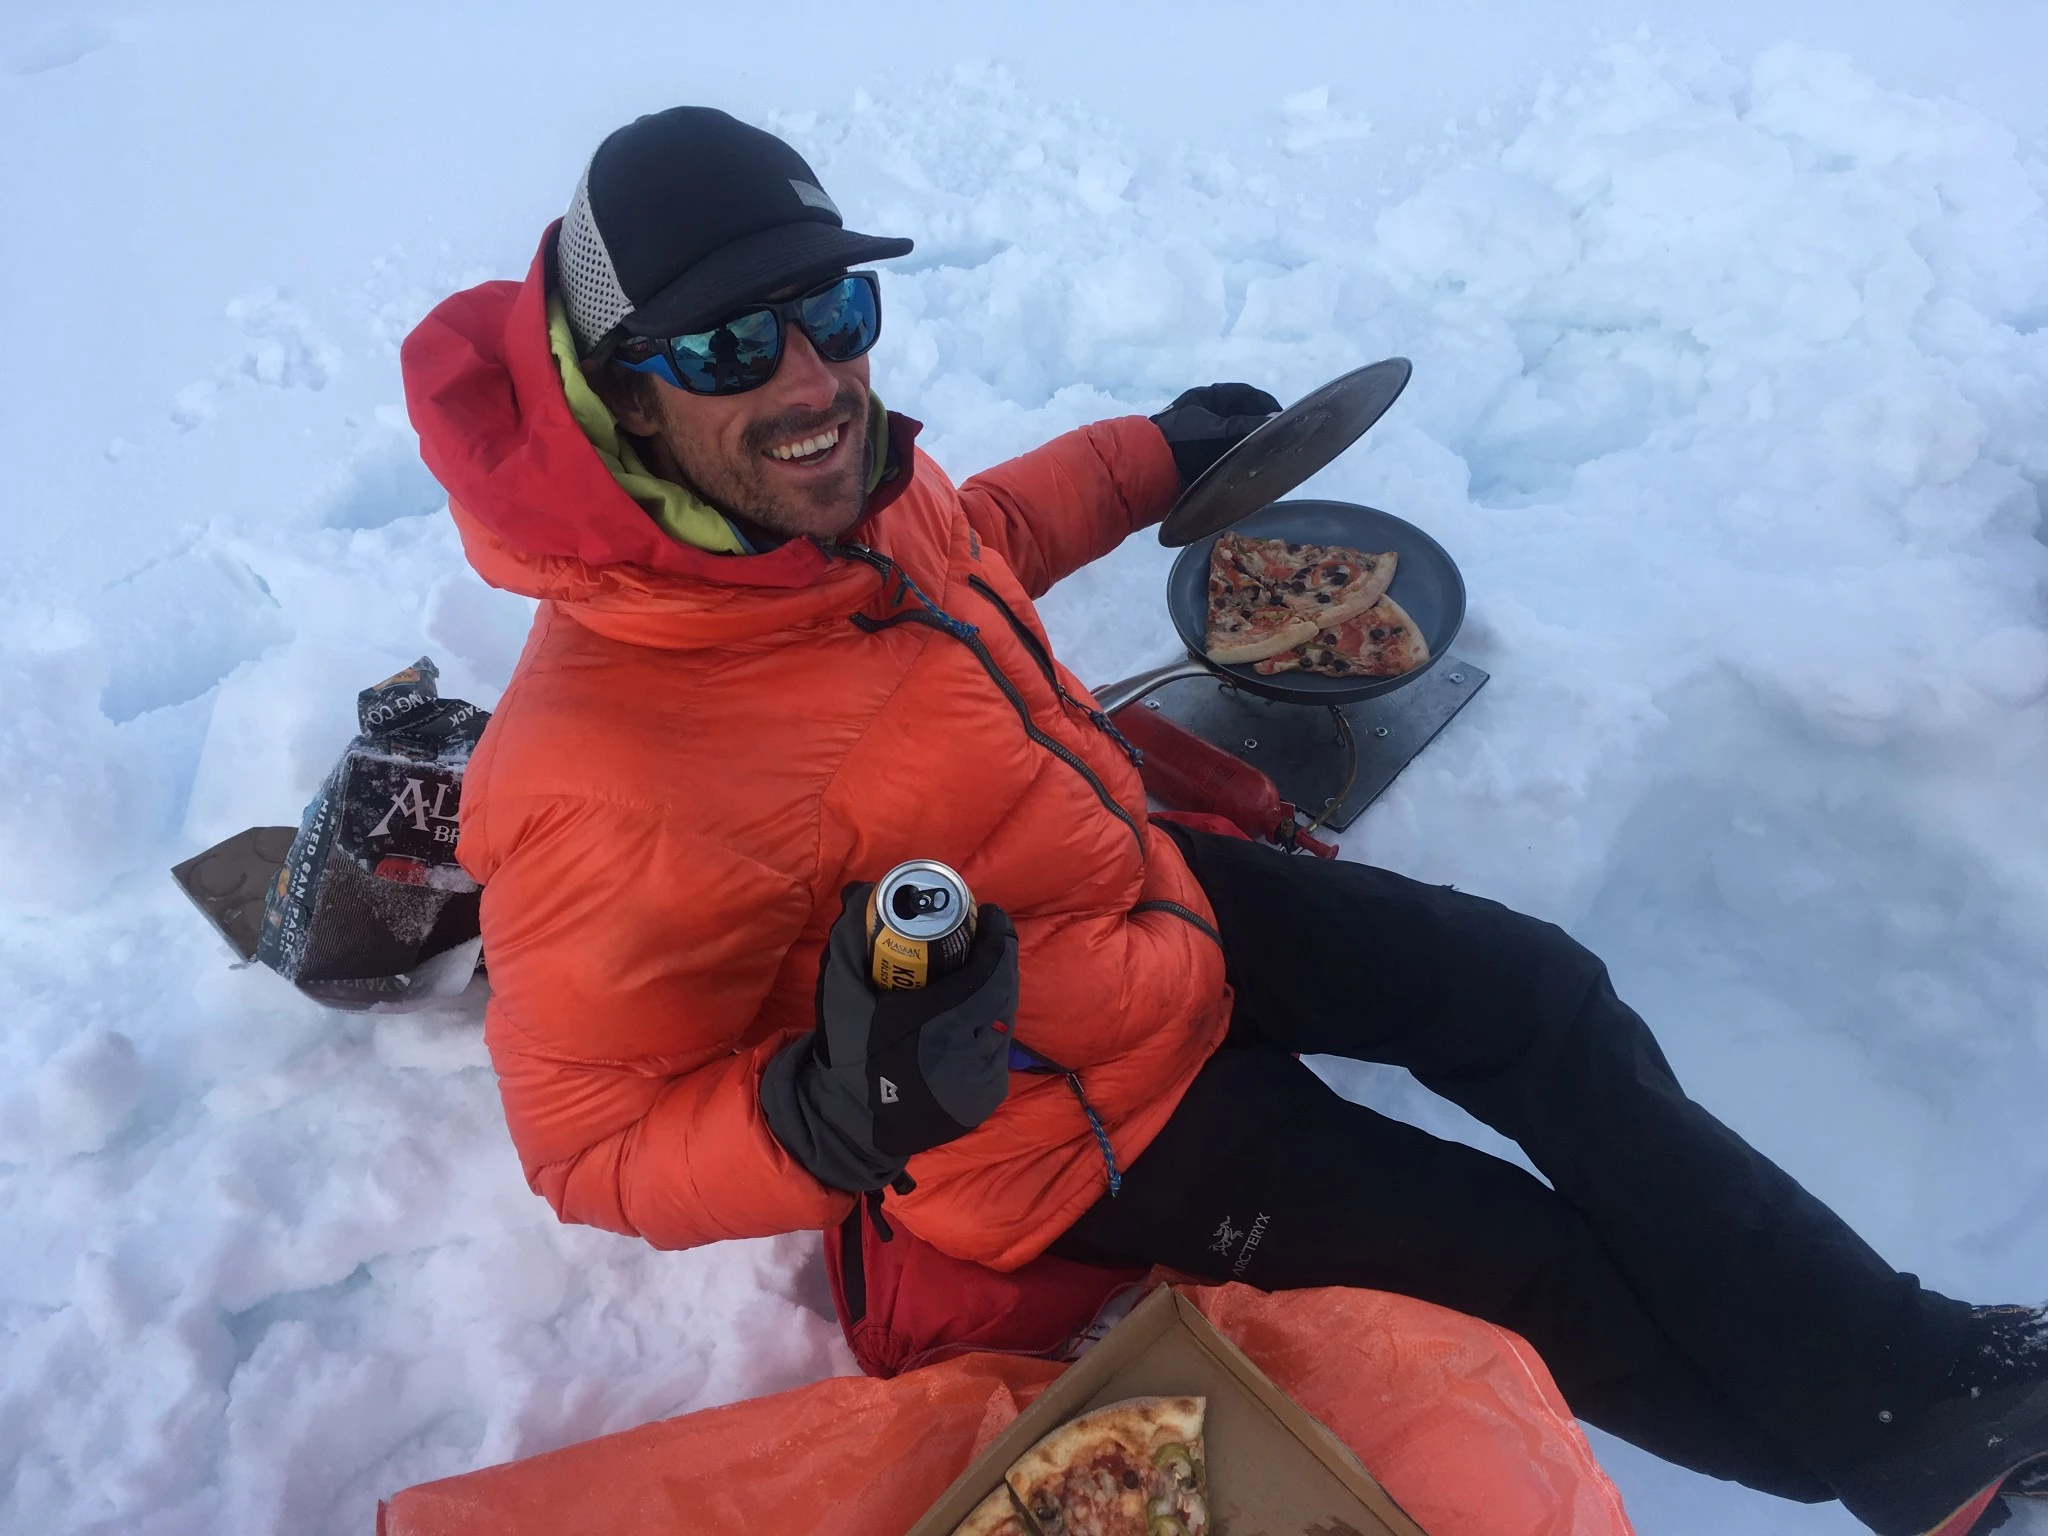
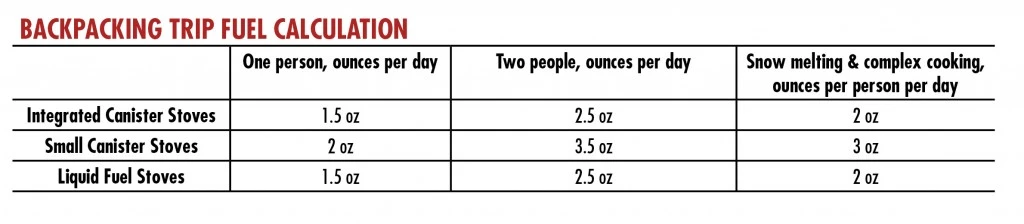
For a solo hiker who is only boiling water for coffee in the morning and a freeze-dried meal at night, the standard rule of thumb is 1.5 ounces of fuel per day. If you are hiking in a pair, budget for 2.5 ounces per day. However, these numbers are baselines. If your itinerary involves snow melting, you should double your fuel estimate. Melting snow requires a massive amount of energy just to change the state of the water from solid to liquid before the boiling process even begins.
When calculating how much fuel to bring for a 7 day backpacking trip, consider these environmental variables:
- Altitude: Higher altitudes actually lower the boiling point of water, which can save fuel, but lower temperatures at those altitudes often cancel out the benefit.
- Wind: A moderate breeze can double your fuel consumption by stripping heat away from the pot. Always use a Windscreen if your stove design safely allows it (be careful with canister stoves to avoid overheating the fuel source).
- Water Temperature: Starting with ice-cold snowmelt requires significantly more fuel than starting with water from a lukewarm stream.
Pro Tip: Use a permanent marker to record the "full" weight of your canisters on the bottom. After a trip, weigh them again. This helps you develop a personalized fuel consumption profile based on your specific stove and cooking style.
FAQ
What is the best type of stove for backpacking?
The best type depends entirely on your objectives. For the vast majority of hikers on three-season trails, a small upright canister stove offers the best balance of weight, ease of use, and simmer control. For those primarily eating dehydrated meals, an integrated system is superior. Only choose liquid fuel or wood-burning stoves if you have specific needs like extreme cold or long-term off-grid travel.
How do I choose a backpacking stove?
Start by looking at your typical group size and the type of food you enjoy. If you hike solo and stick to simple meals, prioritize weight and choosing a backpacking stove that is compact. If you cook for a group, look for a stove with a wide burner head and stable pot supports. Finally, consider the environment; if you plan to hike in freezing temperatures, a liquid fuel or remote-canister stove with a cold-weather fuel mix is necessary.
Are canister stoves better than liquid fuel stoves?
Canister stoves are generally better for convenience, weight, and ease of use. They require no priming and are much cleaner to operate. However, liquid fuel stoves are better for sustainability because the bottles are refillable, and they are significantly more reliable in winter mountaineering scenarios where fuel vaporization becomes an issue for gas canisters.
How long does a fuel canister last on a backpacking trip?
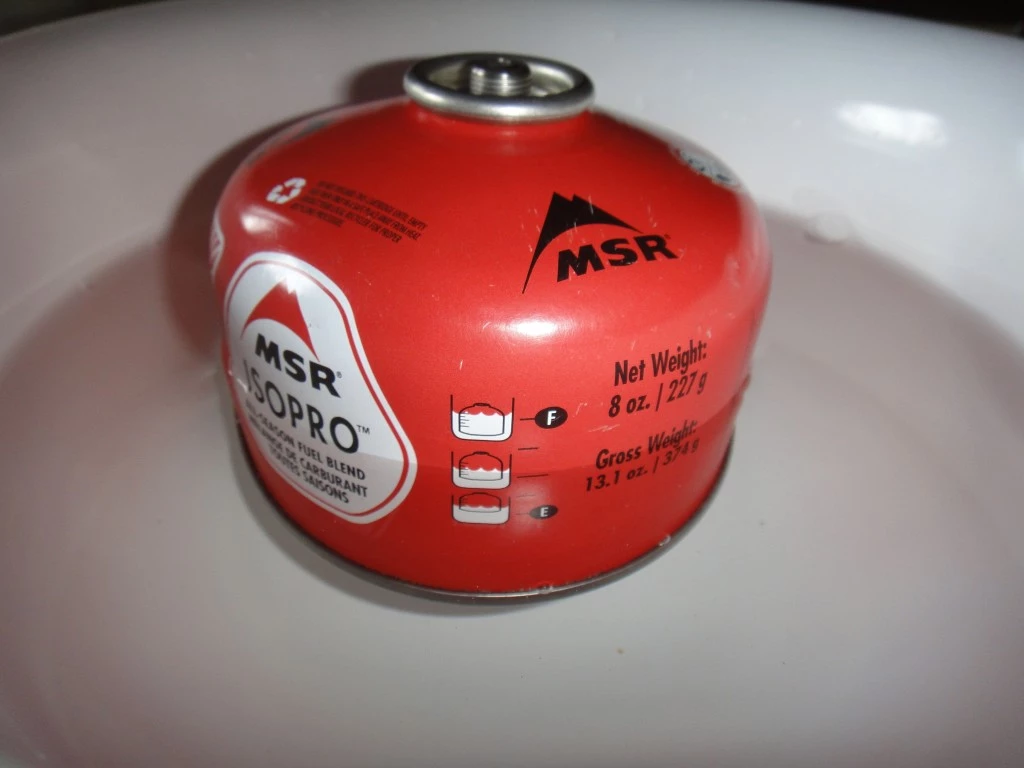
A standard 8-ounce (227g) isobutane canister typically lasts for about 60 to 90 minutes of burn time. In real-world terms, this usually translates to roughly 10 to 12 days of solo use for simple morning and evening boils. Factors like wind, starting water temperature, and whether you use a lid on your pot will significantly influence the lifespan of the canister.
Can you use a backpacking stove in the winter?
Yes, but you must choose the right tool. Standard upright canister stoves struggle in temperatures below freezing. For winter use, you should use a liquid fuel stove or a specialized canister stove that allows for an inverted canister "liquid feed" mode. These designs help maintain fuel flow even when the ambient temperature is very low.
What is the most fuel-efficient backpacking stove?
Integrated canister systems are widely considered the most fuel-efficient options available. By combining a high-performance burner with a dedicated heat exchanger pot, these systems minimize heat loss to the environment and maximize thermal transfer. This efficiency allows you to carry less fuel over long distances, potentially saving more total weight than using a lighter, less efficient burner.
Finding Your Perfect Match
Choosing the right backpacking stove for your needs is a rite of passage for any serious hiker. Whether you opt for the lightning-fast boil times of an integrated system or the bombproof reliability of a liquid fuel stove, the goal is always the same: a warm meal and a moment of comfort in the wild.
As you narrow down your choices, remember to look beyond the weight on the box. Consider the total system weight, including fuel and pots, and reflect on the conditions you realistically expect to encounter. With the right stove in your pack, you are not just carrying a piece of hardware—you are carrying the ability to sustain yourself through the toughest miles and the coldest nights. Now, pick your burner, check your fuel levels, and get out there. The trail is waiting.