Quick Facts
- Distance: 67.79 miles stretching across the Santa Monica Mountains.
- Total Gain: Approximately 13,000 feet of cumulative elevation.
- Best Season: January through March for green vistas and wildflowers.
- Highest Point: 3,111 feet at the summit of Sandstone Peak.
- Permits: Required for specific campgrounds like Musch Trail Camp; no wilderness permit needed.
- Water: Reliant on human-made spigots only; no dependable natural sources.
- Logistics: Point-to-point hike requiring ride-share or car shuttling.
The Backbone Trail is the crown jewel of Southern California, offering a 67-mile thru-hike through the Santa Monica Mountains. While others are blocked by snow, winter is the prime season for Backbone Trail backpacking, featuring green hills and mild temperatures. This guide covers the essential logistics of water planning and camping sites to ensure your winter trek is a success.
The Crux: Water and Camping Logistics
The most significant challenge for anyone planning a Santa Monica Mountains thru-hike is the strict regulation regarding where you sleep. Unlike the Sierras, dispersed camping is prohibited along the Backbone Trail. Hikers must strictly adhere to California State Parks regulations, which mandate staying in designated camping sites. This requires meticulous planning because the legal sites are not evenly spaced for a standard 10-mile-per-day pace.
The primary Backbone Trail camping sites include Musch Trail Camp in Topanga State Park and La Jolla Valley Walk-In Camp in Point Mugu State Park. Because these are the only true trail-side camps, many hikers find themselves in a logistical pinch during the middle miles. To bridge the gap, we often recommend coordinating with nearby campgrounds like Malibu Creek State Park or utilizing ride-share services to sleep at local motels or return to a vehicle, then restarting at the same trailhead the next morning.
Equally critical is Backbone Trail water planning. Southern California is notoriously dry, and reliable natural water sources are non-existent on the trail unless a massive storm has just passed. You cannot rely on seasonal creeks. Instead, hikers should depend on human-made spigots. Key locations include Danielson Ranch, the fire station near Encinal Canyon Road, and park facilities like the Dead Horse Trailhead or Trippet Ranch. We suggest carrying a minimum of 3-4 liters of water capacity, especially during the long, exposed stretches between the Encinal Canyon fire station and Sandstone Peak.
Directional Strategy: Eastbound vs. Westbound
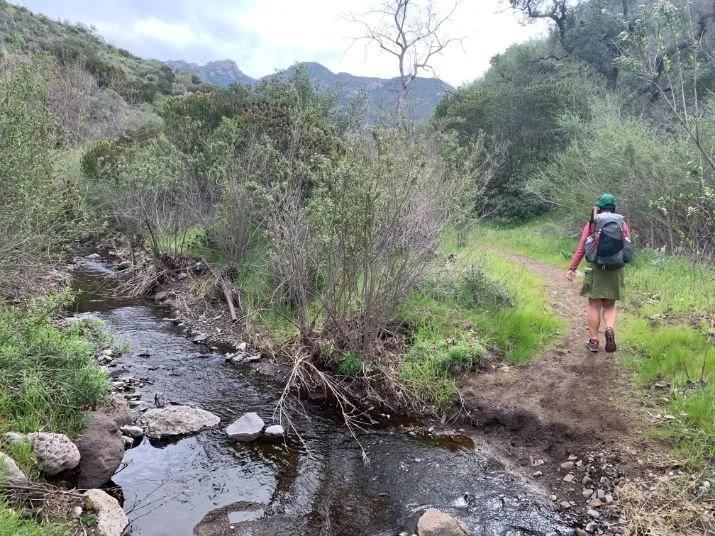
Deciding which way to walk is more than just a matter of preference; it dictates your sun exposure and how you experience the dramatic views of the Pacific Ocean. Most hikers choose one of two primary trailheads: Will Rogers State Park in the east or Ray Miller Trailhead in the west.
| Feature | Westbound (WB) | Eastbound (EB) |
|---|---|---|
| Starting Point | Will Rogers State Park | Ray Miller Trailhead |
| Finishing View | Views of the Channel Islands | Views of the Los Angeles Skyline |
| Elevation Profile | More gradual initial climbs | Steeper initial climb out of Point Mugu |
| Logistics | Easier ride-share drop-off in LA | Often ends at a more remote coastal highway |
| Sun Exposure | Sun at your back in the afternoon | Sun in your eyes in the afternoon |
The westbound route is generally favored by those who want to "walk toward the wild." Ending at the ocean provides a sense of grand completion that finishing in a city park can't quite match. However, parking logistics for Backbone Trail point to point hike can be tricky. Many hikers find it easiest to leave a car at the Ray Miller Trailhead (which allows overnight parking with a fee) and take a ride-share to the start at Will Rogers.
Pro-Tip: If you are using ride-share drop-off logistics, ensure you have your destination set specifically for the Will Rogers Polo Fields or the Ray Miller parking lot, as cell service can become spotty the moment you enter the canyon depths.
The Winter Advantage: Why Now?
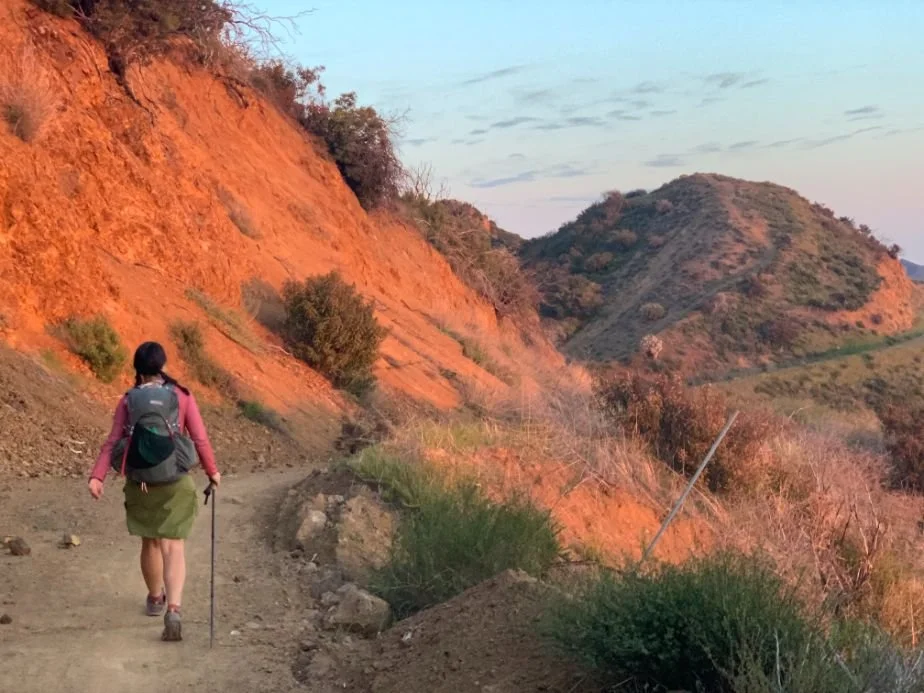
While the rest of the country is shoveling snow, savvy hikers head to the Santa Monica Mountains. During January and February, the region enjoys a mild Mediterranean climate. Statistics show average daily highs of 66°F and average lows of 49°F, which is the "Goldilocks" zone for carrying a multi-day pack. In contrast, summer temperatures here frequently soar into the triple digits, making the ridgelines dangerously hot.
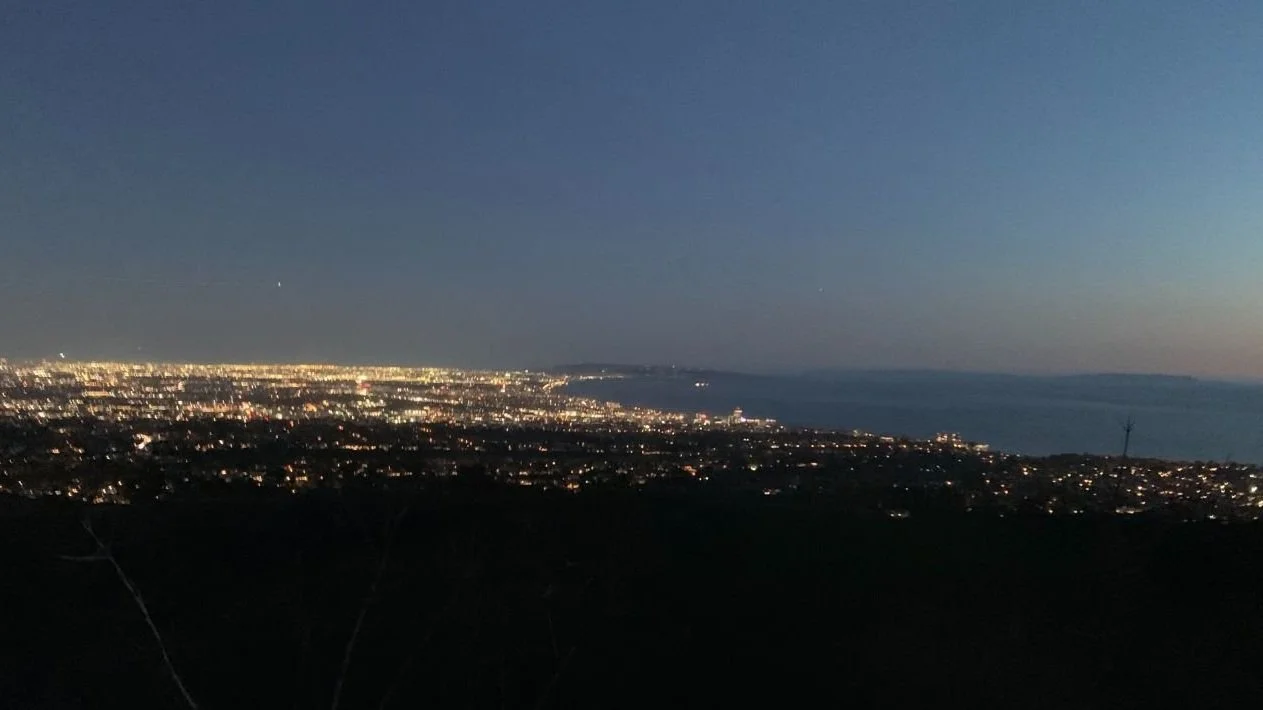
Backpacking the Backbone Trail in winter months also offers a visual feast. This is the only time of year when the chaparral-covered hills turn a vibrant, emerald green. By late February, the winter wildflower bloom begins, featuring California poppies, lupine, and wild lilac. The air is also much clearer after winter rains, providing panoramic views that stretch from the San Gabriel Mountains all the way to Santa Catalina Island.
Recommended 5-Day Itinerary
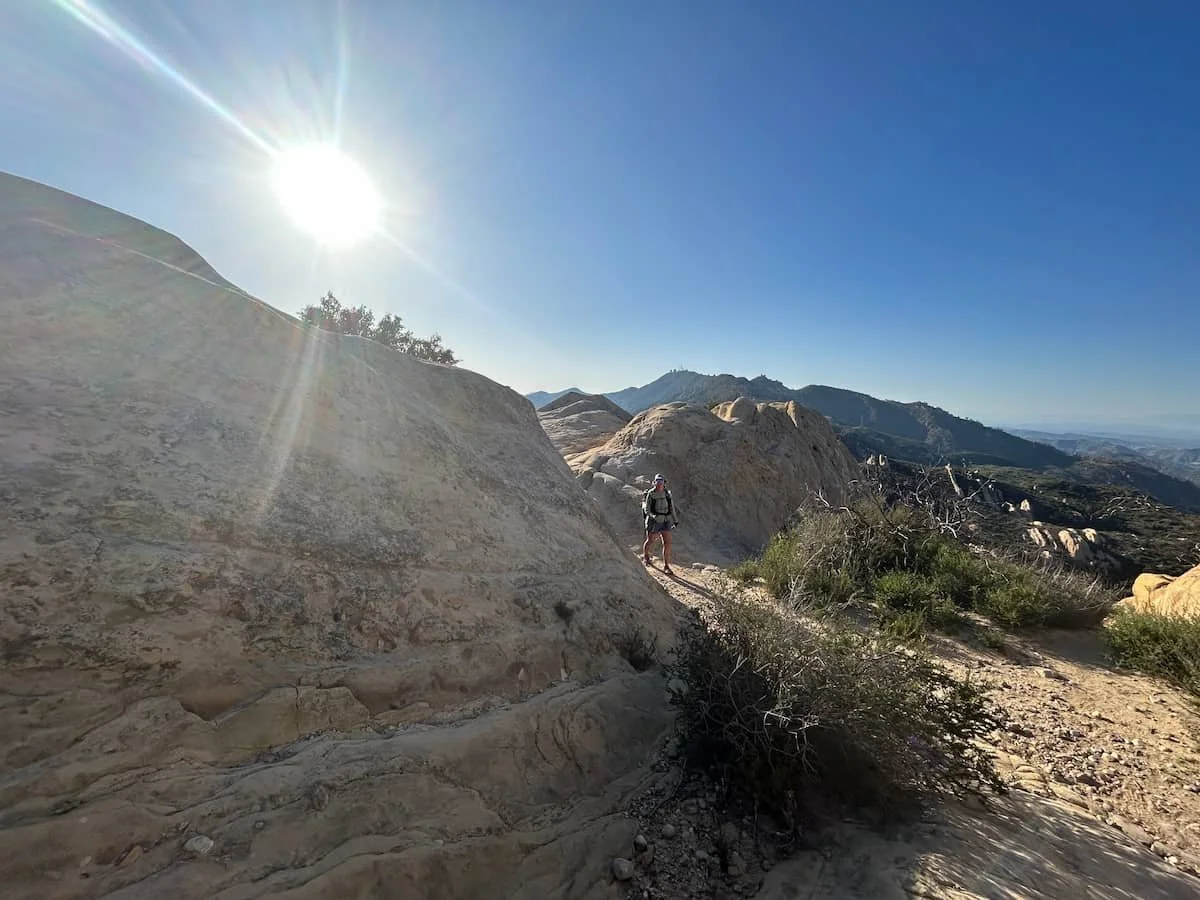
This 5-day itinerary focuses on a Westbound (WB) flow, which we believe offers the best visual progression. This schedule accounts for the limited camping permits and regulations for Backbone Trail camping by utilizing a mix of trail camps and off-trail logistics.
Day 1: Will Rogers State Park to Musch Trail Camp
The journey begins with a climb through the historic Will Rogers estate, quickly gaining views of the LA Basin. You'll traverse the Big Triage area before descending into the oak groves of Topanga State Park.
- Distance: 10.5 miles
- Daily Gain: 2,100 feet
- Water: Spigots available at Trippet Ranch (mile 7.5).
Day 2: Musch Trail Camp to Malibu Creek Area
Today involves traversing the stunning Mesa Peak Motorway. Since there are no legal Backbone Trail camping sites directly at the 20-25 mile mark, many hikers exit at Malibu Canyon Road and use a ride-share to stay in nearby Calabasas or find a site at the Malibu Creek State Park campground.
- Distance: 13.5 miles
- Daily Gain: 2,400 feet
- Water: Water at Trippet Ranch (start) and spigots at Malibu Creek.
Day 3: Malibu Creek to Circle X Ranch
This is perhaps the most scenic day of the trip. You will pass through the Boney Mountain State Wilderness and cross the dramatic volcanic rock formations of Castro Crest.
- Distance: 14.5 miles
- Daily Gain: 3,200 feet
- Water: Fill up at the fire station near Encinal Canyon Road (essential!).
Day 4: Circle X Ranch to Danielson Ranch
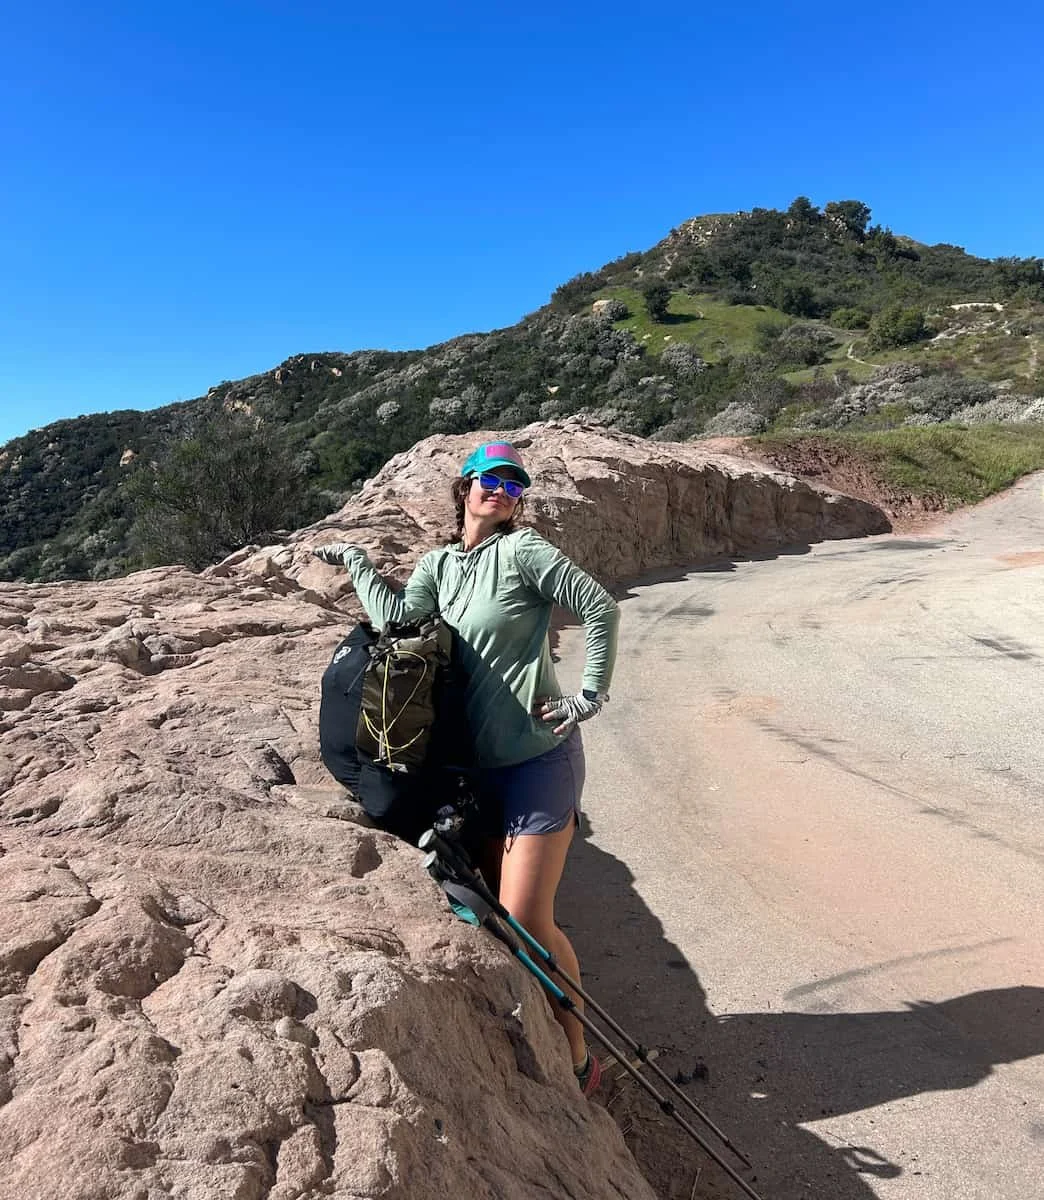
You will reach the Sandstone Peak summit, the highest point of the trail at 3,111 feet. The view from the top is unmatched. The day ends with a long descent into the wooded valley of Danielson Ranch.
- Distance: 11.5 miles
- Daily Gain: 2,500 feet
- Water: Spigots available at Circle X and Danielson Ranch.
Day 5: Danielson Ranch to Ray Miller Trailhead
The final push takes you through the grasslands of La Jolla Valley. Keep an eye out for the ocean; once you reach the top of the Ray Miller Trail, the descent offers a straight view into the Pacific.
- Distance: 17.8 miles (can be split by staying at La Jolla Valley Camp)
- Daily Gain: 2,800 feet
- Water: Danielson Ranch spigot is your last reliable source.
Preparation: Gear and the Training Ladder
While the weather is mild, the Mediterranean climate flora masks a rugged environment. The trail is largely shadeless, and the cumulative elevation gain of 13,000 feet can be punishing. We recommend a "Training Ladder" of three local hikes to prepare:
- Mt. Hollywood: For practicing steady, sunny climbs.
- Mishe Mokwa to Sandstone Peak: To familiarize yourself with the technical, rocky terrain of the western BBT.
- Los Liones to Parker Mesa: To get used to the steep coastal ridges.
Gear-wise, focus on sun protection and moisture management. Even if it feels cool, the SoCal sun is intense. A wide-brimmed hat and sun hoodie are essential. For navigation, always carry a backup; we highly recommend using Gaia GPS navigation or CalTopo to keep track of the Backbone Trail water sources and spigot locations, as the trail can occasionally be confusing near road crossings.
FAQ
How long does it take to backpack the Backbone Trail?
Most hikers complete the thru-hike in 4 to 6 days. A Backbone Trail 3-day vs 5-day backpacking itinerary is a common debate; three days is possible for elite trail runners or ultra-light hikers, but five days allows for a much better appreciation of the diverse ecosystems and geological formations.
Do you need a permit to hike the Backbone Trail?
No general permit is required to hike the trail itself. However, you do need to reserve specific Backbone Trail camping sites in advance. Camps like Musch Trail Camp or the nearby Malibu Creek State Park require fees and reservations through the California State Parks website.
Where can you camp while backpacking the Backbone Trail?
Legal camping is restricted to designated sites. The primary options are Musch Trail Camp and La Jolla Valley Walk-In Camp. Because there is a large gap in the middle section of the trail, many thru-hikers choose to stay in nearby state park campgrounds or use ride-share services to reach local accommodation for one night.
Is there reliable water access along the Backbone Trail?
Natural water is extremely scarce. Every hiker must plan their trek around human-made spigots. The most reliable locations are Trippet Ranch, the Encinal Canyon fire station, Circle X Ranch, and Danielson Ranch. Always carry more water than you think you need, as these spigots can occasionally be turned off for maintenance.
How difficult is the Backbone Trail for beginners?
The trail is moderately difficult due to the cumulative elevation gain and the lack of shade. While the path itself is well-maintained and not technically "dangerous," the logistics of water and camping make it more challenging for a first-time backpacker than a more established wilderness area.
How do you arrange transportation for the Backbone Trail?
Since this is a point-to-point hike, you will either need two cars (parking one at each end) or a ride-share. We recommend parking at the Ray Miller Trailhead and taking a ride-share to Will Rogers State Park to start your westbound journey.