Quick Facts
- Primary Goal: Locating and preserving historic glass artifacts through ethical excavation.
- Legal Gateway: Understanding the Archaeological Resources Protection Act (ARPA) and local public land regulations.
- High-Probability Sites: Cascade Range mining camps, logging settlements, and 19th-century ghost towns.
- The Golden Mark: Presence of pontil marks and iridescent patina often indicates items predating the early 20th century.
- Inventory Count: On National Forest System lands throughout the Western United States, there are 38,991 documented abandoned mine sites, providing a vast landscape for historical research.
- Required Gear: Heavy-duty bushwhacking apparel, soil probes, hand trowels, and high-accuracy topographical maps.
To locate abandoned mining camps for bottle digging in the Pacific Northwest, hikers should research historical survey maps and mining claims from the late 19th century. Using topographical maps and GPS coordinates helps identify remote sites. Once in the field, look for indicators like square-head nails or leveled ground where cabins once stood, as these markers often point toward nearby refuse piles or historical privy pits where glass was discarded. The most effective techniques for bottle digging involve using metal detectors to find iron scrap or square nails that signal a past settlement. Once a site is found, explorers search for privy pits containing discarded household items. When excavating, tools like soil probes and hand trowels are used to carefully uncover intact antique glassware, such as medicine bottles with unique embossing, bitters bottles, or kerosene lanterns that have been preserved underground for over a century.
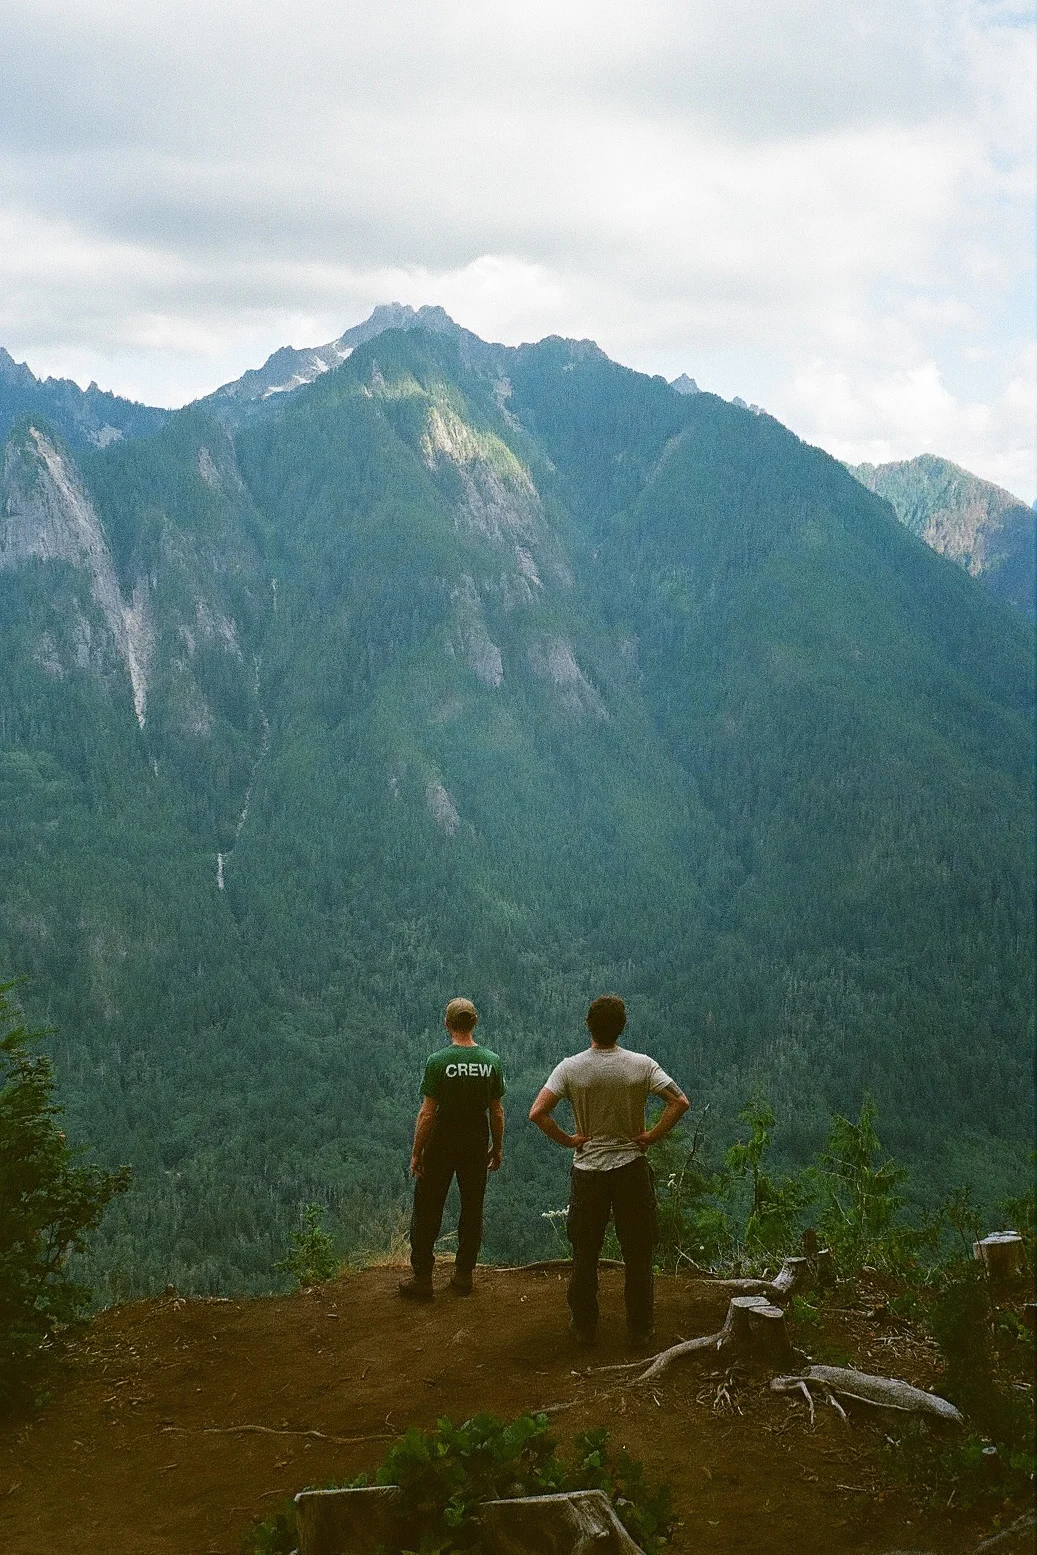
The Pacific Northwest is a landscape of forgotten fortunes, where abandoned mining camps in the Cascade Range hide historical treasures just beneath the forest floor. For many hikers, bottle digging is more than a hobby—it's a way to touch history. However, locating these sites and uncovering artifacts requires a blend of archival research and backcountry grit. This beginner guide to bottle digging in the pacific northwest will help you navigate the transition from a casual hiker to a dedicated relic hunter, ensuring you respect both the law and the environment while uncovering the glass stories of the frontier era.
Legal Realities and Ethics: ARPA and LNT
Before you pick up a trowel, you must understand the legal landscape that governs historical archaeology in the United States. Searching for artifacts on federal lands is strictly regulated by the Archaeological Resources Protection Act (ARPA). This law makes it a federal felony to excavate or remove archaeological resources—defined as items over 100 years old—from federal lands without a permit. Before venturing out, participants must research public land regulations and historical preservation laws to ensure digging is permitted at a specific site. Private land digging requires explicit written permission from the landowner, and state-managed lands each have their own specific set of codes.
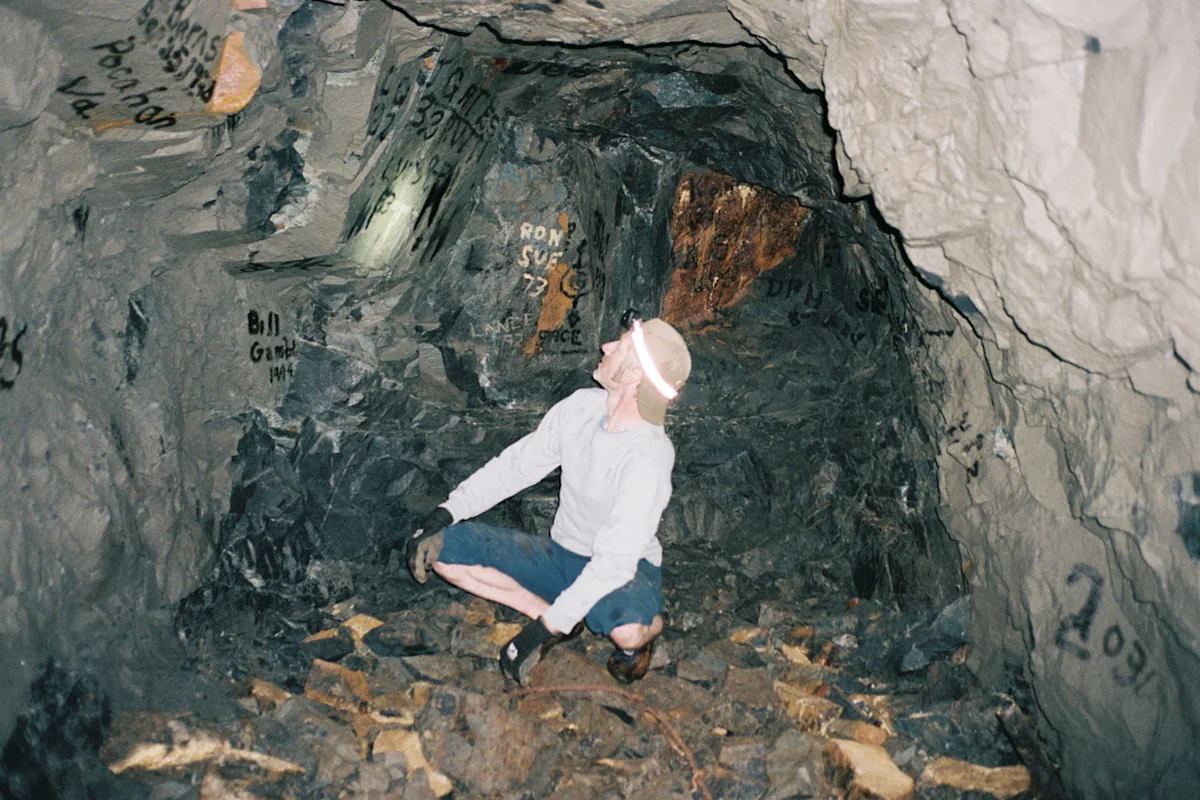
Beyond the legalities, ethical relic hunting requires a commitment to Leave No Trace principles. The primary rule for any responsible digger is to backfill all holes. An open pit is not only a hazard for wildlife and fellow hikers, but it also accelerates the erosion of the archaeological record and disrupts the forest ecosystem. Safety precautions include avoiding unstable mine tunnels and being prepared for strenuous off-trail bushwhacking with heavy gear. Remember, you are a guest in these woods and a steward of the history they contain.
Research and Navigation: How to Find Abandoned Mining Camps
Success in bottle digging starts in the library, not the woods. The deep forests of Washington and Oregon are excellent at reclaiming man-made structures; a cabin that stood for forty years can vanish under moss and ferns in just a few decades. To find these locations, you must cross-reference historical records with modern data. The Washington Geological Survey has inventoried and evaluated more than 60 major abandoned mine sites or districts in the state that each consist of at least 2,000 feet of underground development or produced over 10,000 tons of ore.
Modern mapping technology has made this search significantly more efficient. For instance, a dedicated survey of Oregon's North Santiam Mining District used LiDAR mapping technique to identify 226 distinct abandoned mine features, including entrances, exploration pits, and waste rock areas. By locating historical mining claims for bottle digging and overlaying them on topographical maps, you can narrow your search to high-probability zones. Look for "island" groves of non-native trees or sudden clearings in otherwise dense timber, which often signal where 19th-century logging settlements or mining camps once stood.
Modern Field Techniques: Probing and Excavation
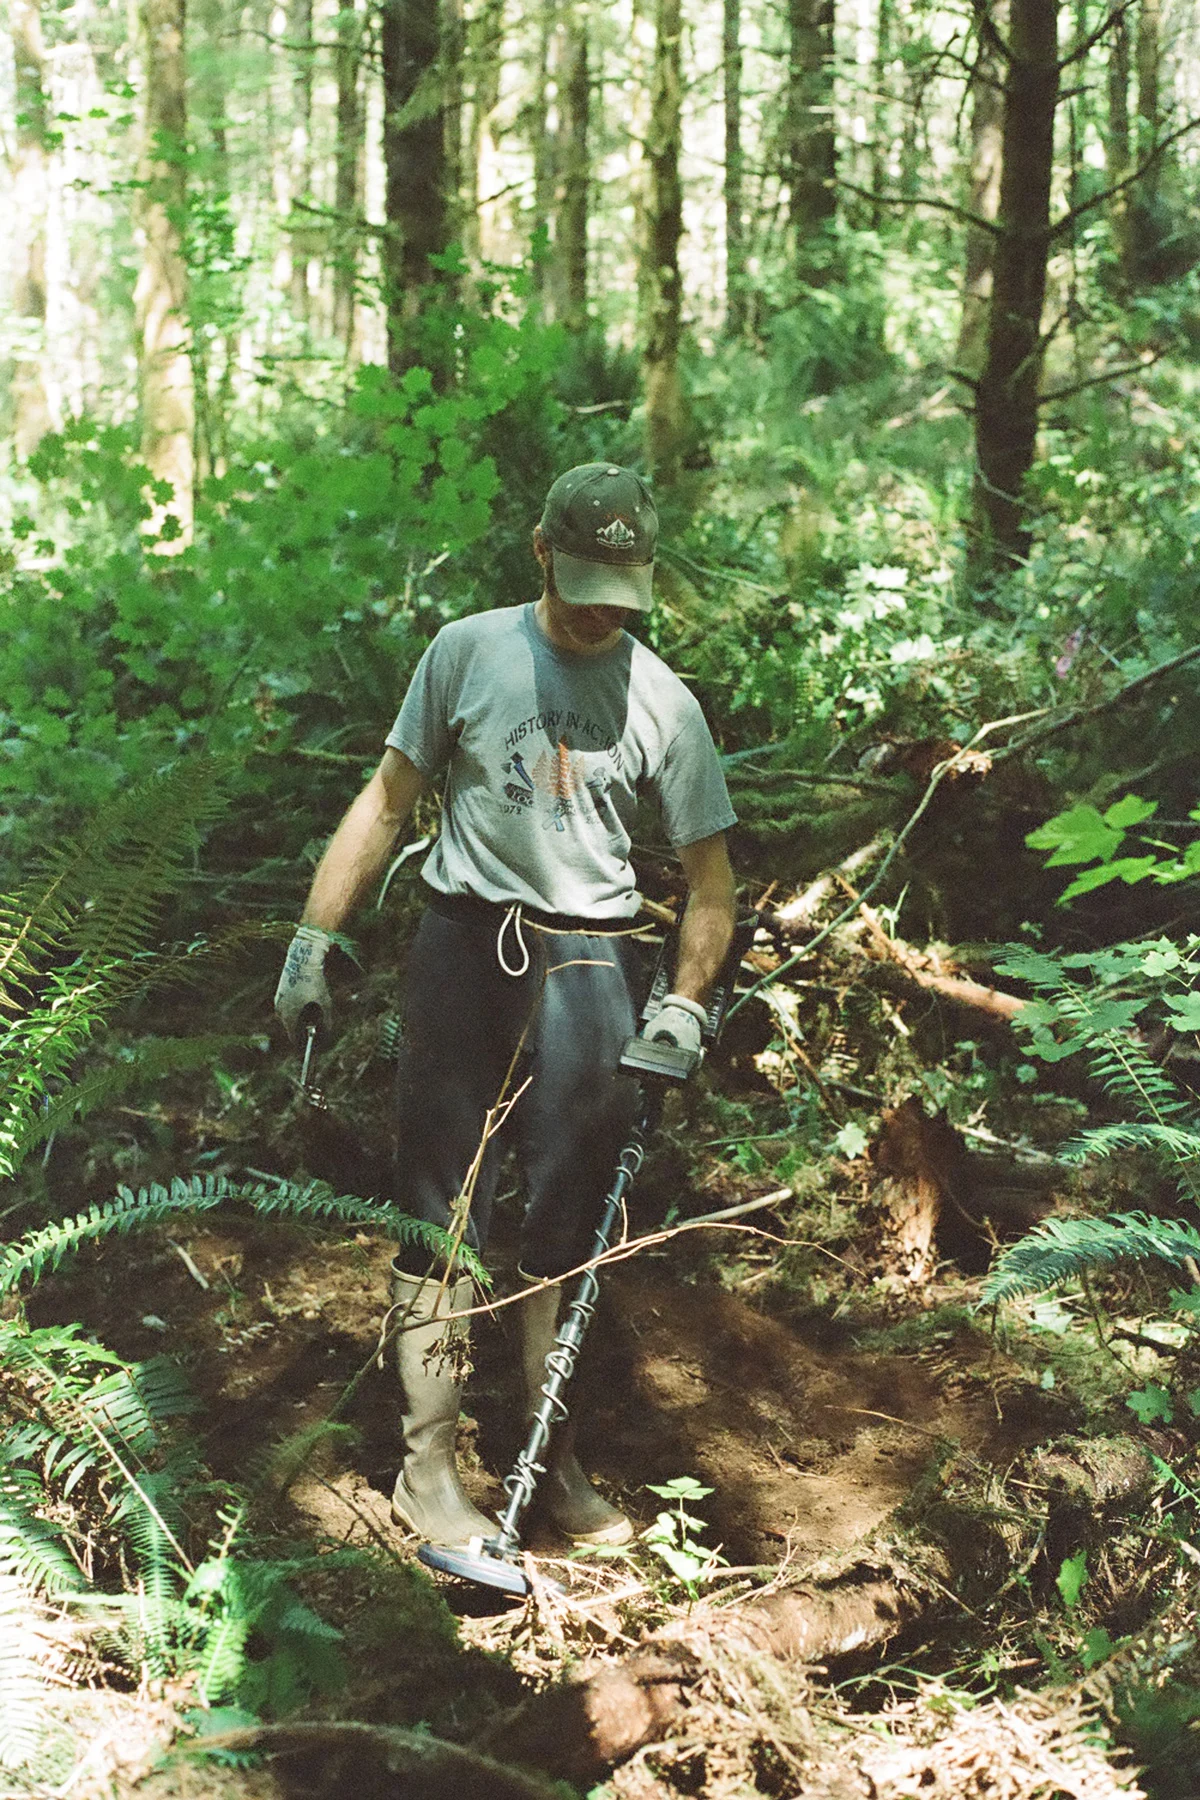
Once you have arrived at a suspected site, the real detective work begins. Relying on your eyes alone is rarely enough. Use relic hunting techniques like metal detecting to search for square nails and iron scrap. In the late 1800s, square-head nails were the industry standard; finding a concentration of them usually indicates the footprint of a cabin. Once you establish the cabin perimeter, your goal is to locate the privy pits or the "dump."
In the logic of the dump, miners and loggers typically discarded their refuse in the most convenient nearby depression. Look for ravines, steep gullies, or natural hollows within fifty yards of the cabin site. Excavating antique privy pits in the PNW woods requires a tool called a soil probe—a long, thin rod of spring steel. By pushing this into the ground, you can feel for the "crunch" of glass or the soft, ash-filled soil characteristic of an old trash pit. When the probe hits something solid, use hand trowels to carefully clear away the dirt. Never shovel blindly; some of the most beautiful antique medicine bottles from the late 1800s are extremely fragile and can be shattered by a single careless strike.
Dating Your Discovery: Antique Bottle Identification
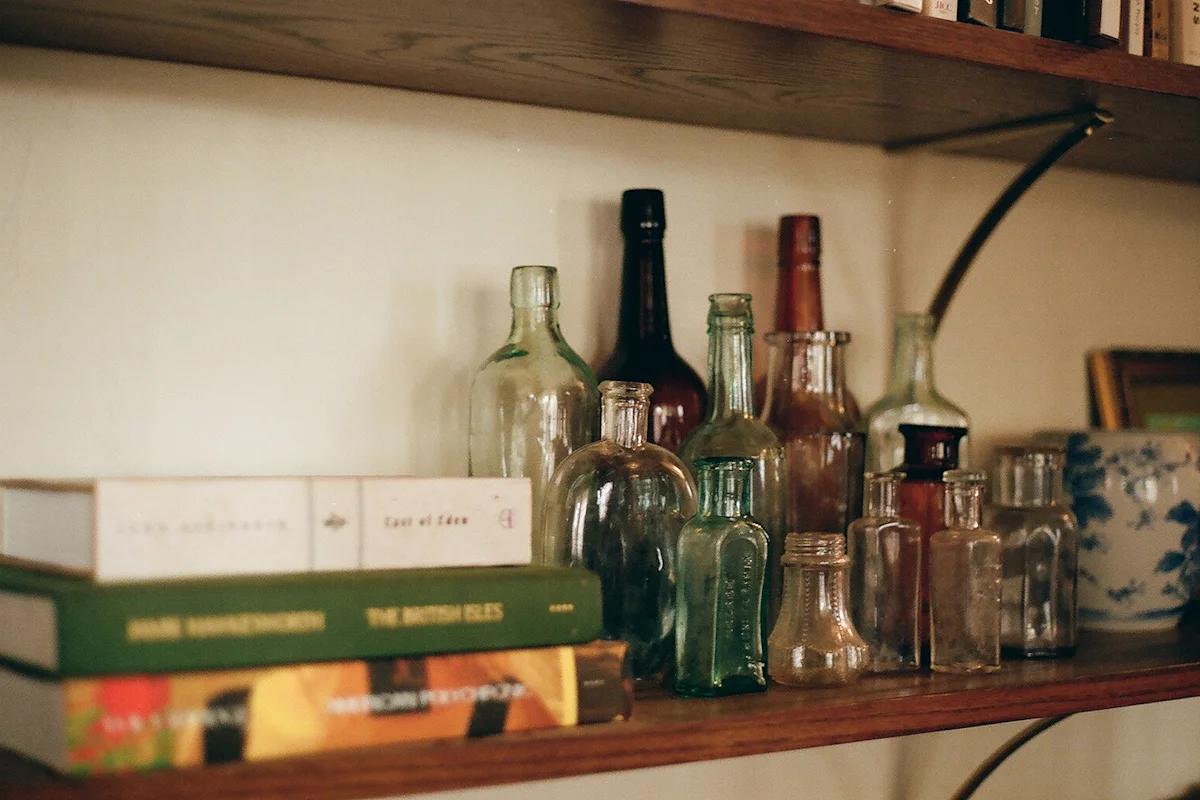
Identifying what you have found is perhaps the most rewarding part of the process. Antique bottle identification relies heavily on understanding the evolution of glass manufacturing. The biggest milestone is 1903, the year the Owens automatic bottle machine was introduced. If a bottle has a side seam that runs all the way through the top of the lip, it is likely machine-made and post-1903. If the seam stops below the lip, the bottle was hand-blown glass, finished by a craftsman.
Look for pontil marks on the bottom—a rough scar where the glassblower’s rod was detached. These are hallmarks of mid-to-late 19th-century pieces. You may also find bottles with an iridescent patina, a shimmering, rainbow-like film caused by minerals in the soil leaching into the glass over a century of burial. While many hope for cobalt blue glass or rare bitters bottles, even common artifacts tell a story. Identifying antique medicine bottles from the late 1800s can reveal the specific ailments miners were treating, while finding kerosene lanterns helps recreate the interior life of these remote outposts. Recognizing rare embossed glass bottles from the frontier era, featuring the names of long-defunct local pharmacies or breweries, is the ultimate prize for local historians.
The Relic Hunter’s Checklist: Logistics and Packing
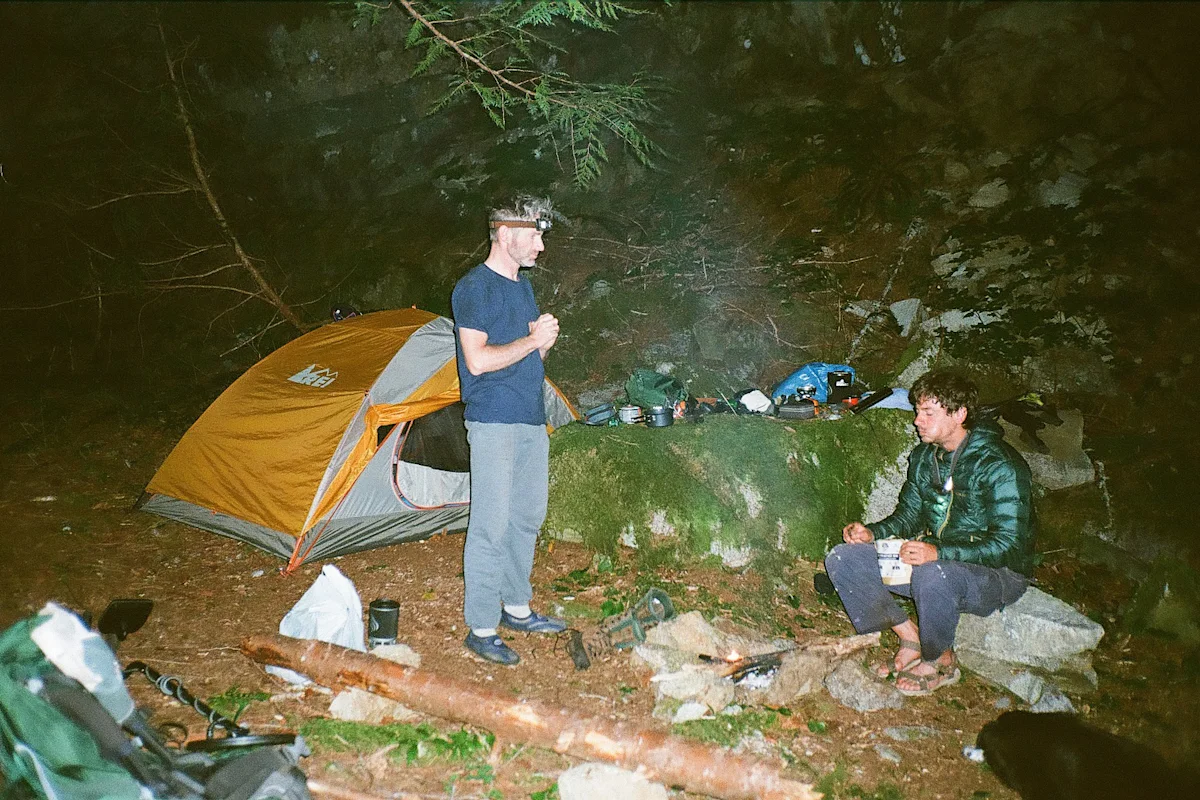
Backcountry bottle digging is a physically demanding pursuit. You are often bushwhacking through dense brush with 50-to-60 pound packs containing digging tools, water, and safety gear. The Cascade Range weather can change in minutes, so your kit must be robust enough for multi-day survival.
Essential equipment list for remote relic hunting:
- Probing Tools: A 4-foot spring steel soil probe for locating ash layers.
- Excavation Gear: A high-grade hand trowel, a small handheld rake, and soft brushes.
- Packing Material: Bubble wrap or heavy shop rags to protect finds during the hike out.
- Safety Kit: Bear spray, a satellite communicator (like a Garmin inReach), and a comprehensive first-aid kit.
- Cleaning Supplies: Soft-bristled brushes for cleaning and preserving glass bottles found in the ground without scratching the surface.
When you return home, avoid using harsh chemicals or abrasive scrubbers on your finds. A gentle soak in warm, soapy water is usually sufficient. For bottles with heavy mineral deposits or "sick glass," specialized tumbling or professional cleaning may be required to restore their original clarity.
FAQ
Where are the best places to go bottle digging?
The best locations are typically abandoned mining camps and 19th-century logging settlements located deep within the Cascade Range. Regions like the North Santiam Mining District in Oregon or the historical silver and gold districts in Washington offer the highest probability of finding significant refuse piles. Always use historical survey maps and mining claims to narrow down your area of interest before heading into the woods.
Is bottle digging legal?
Legality depends entirely on the ownership of the land. On federal land, the Archaeological Resources Protection Act (ARPA) prohibits the removal of artifacts over 100 years old. State lands have their own specific regulations, and most require permits for any kind of excavation. Private land is the safest option for hobbyists, provided you have clear, written permission from the owner to dig and keep what you find.
How do you identify an old glass bottle?
Look at the side seam. If the seam ends before the lip, the bottle was mouth-blown and finished by hand, typically dating it before 1903. Bottles with a pontil mark on the base are generally older, dating from the mid-19th century or earlier. Additional clues include embossed text, the thickness of the glass, and the presence of an iridescent patina caused by long-term burial.
What tools do I need for bottle digging?
A basic kit includes a 3-to-4 foot soil probe made of spring steel, a sturdy hand trowel, and a metal detector for finding iron signals like square nails. You will also need protective gear like gloves, a first-aid kit, and materials like bubble wrap or rags to safely transport your fragile finds back through the forest.
How can you tell if a bottle is valuable?
Value is determined by rarity, color, and condition. Embossed medicine bottles from small, local pharmacies are often more valuable to collectors than generic mass-produced items. Rare colors like cobalt blue, deep amber, or teal generally command higher prices than clear or aqua glass. Historical significance, such as a bottle from a famous bitters brand or a short-lived mining town, also adds substantial value.